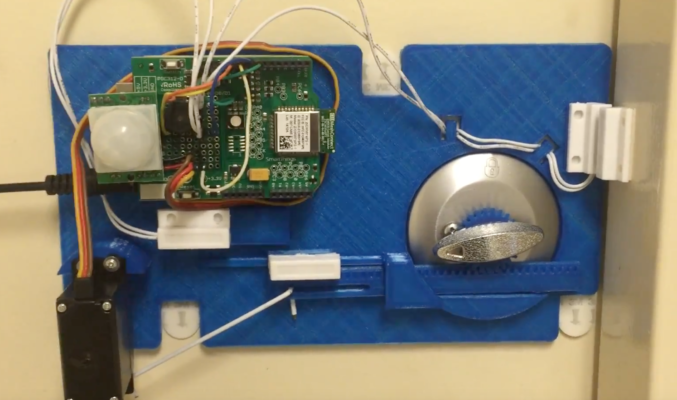
My latest creation is an internet-of-things door lock. The package actuators the deadbolt using a servo and determines if the door is shut or not using a reed switch. There is also a motion sensor that can determine if someone is approaching the door. The lock builds on the SmartThings platform using their Arduino Shield. With it I can control the lock over the Internet using the SmartThings app. What…
Mechanical Engineering
3D-Printed iPhone 5 Car Mount
We got a new MakerBot Replicator 2 at work this month. I had been meaning to print an iPhone 5 mounting adapter for my car, so I thought I’d try to print that using the new printer! The goal of the mount was to fit onto a car mount that I had bought for my iPhone 3GS back in the day. The suction cup and stand part of the mount…
BP Hobbies 25″ Flat Wing Foamie Build
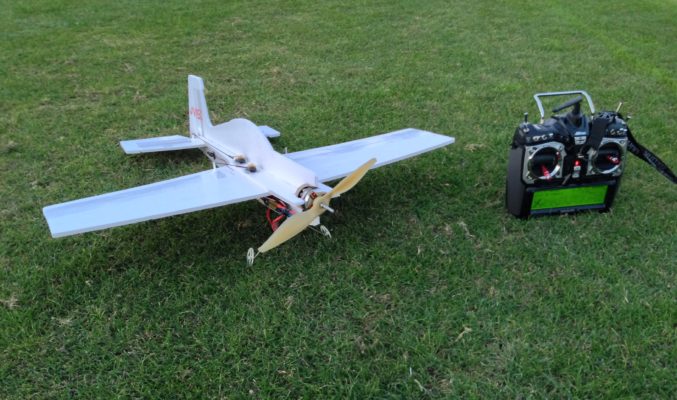
Thanks to the Christmas break, I have finally had a chance to build the 25″ Extra flat wing foamie kit I bought from BP Hobbies almost a year ago. The electronics were purchased from Hobby King and include four 5.5g Turnigy servos, one Turnigy 1300KV motor, and one Hobby King 20A ESC. Control is provided via a six channel Hitec receiver and the plane is powered by a 1000mAh Turnigy…
Automatic Daily Fish Food Dispenser
Meet Bob, the goldfish (pictured below.) Bob is a pet at work, and we needed to keep him fed over the Thanksgiving break. I had an Arduino and a servo that were free, so I wanted to make something that would supply him with the right amount of food for the four days we would be gone. I came up with a little cylinder that I 3D-printed with a MakerBot…
Legorov Teleoperating Robot
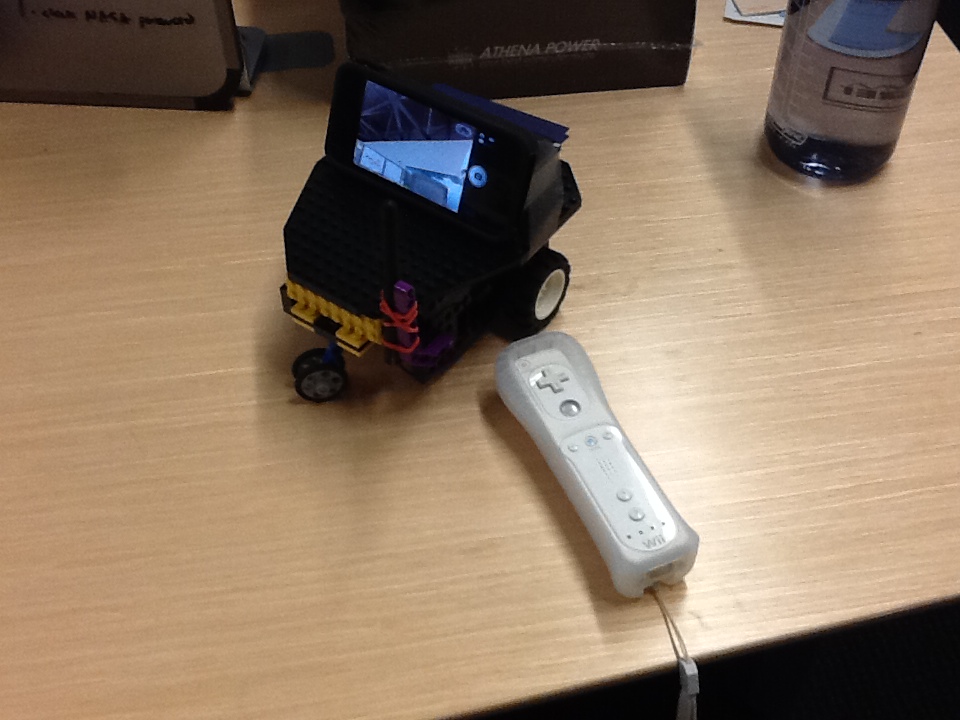
I built this little robot out of Lego this week (see picture.) The electronics include an Arduino, a Sparkfun xBee shield, and an Adafruit motor shield. On the other side of the xBee shield is a linux box running ROS. With ROS I can generated velocity messages from my keyboard or with a Wiimote. These messages get sent to the Arduino which translates the commands into individual motor speeds. I…
Mecanumbot Gets a New Body
After a few sleepless nights, I have finally milled out the pieces for my Mecanum-wheeled robot body. The outer and bottom body pieces are made out of 1/8″ G10/FR4 Garolite. The top two layers are made from transparent polycarbonite. A thin layer of transparent silicon will be placed on the top-most layer of polycarbonite to provide some friction when transporting objects on the top. All of the pieces are held…
The Ball Bot
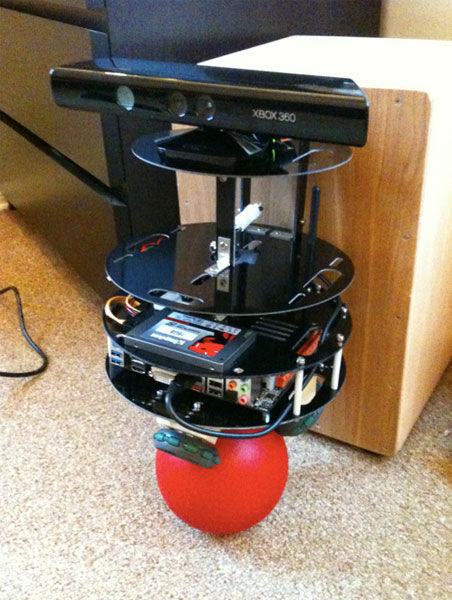
I’ve started a new robot project! This will be one of the most challenges personal projects I’ve embarked on. I have the following goals: designed to be a flexible software test platform mechanical design from scratch in SolidWorks, manufactured from G10 low level control through off-the-shelve electronics including an Arduino, SparkFun Quadstepper motor controller, ITG-3200 Gyro, and BMA180 Accelerometer high-level control through mini-ITX computer onboard running ROS 2D SLAM w/…
Flying Wing
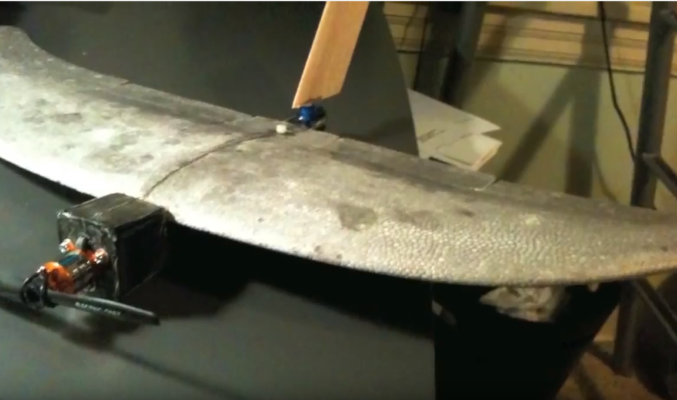
Check out my new flying wing! The plane is made from a pair of EasyStar wing tips, a custom kevlar body (thanks Geoff!), and a handfull of electronics. The design is loosely based off of the AeroVironment Wasp. Below is a short video showing a few build photos and a recent flight set to the smooth tones of The Black Keys. Check back later for some high resolution still photos…
New Quadrotor Frame
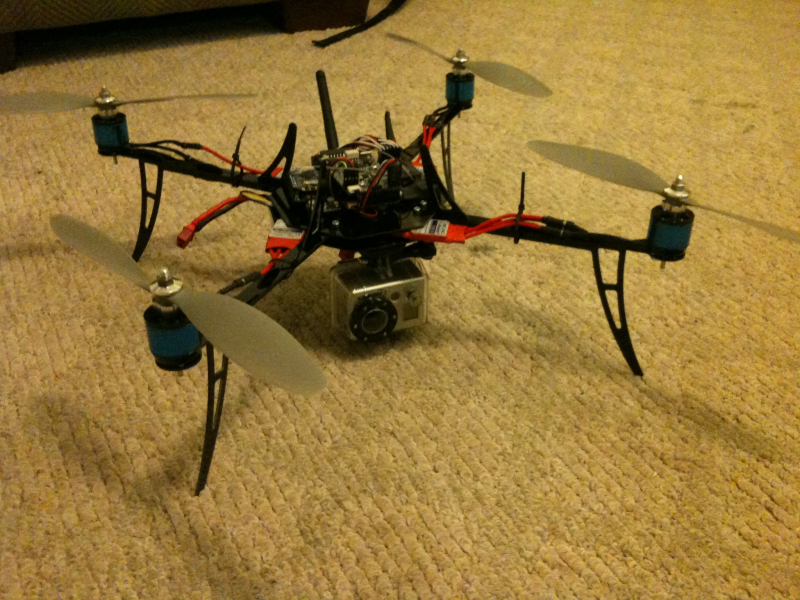
I recently decided to update my quadrotor’s frame. This frame was designed in SolidWorks and cut from 1/16 inch G10. It has considerations for a GoPro camera, a downward facing ultrasonic sensor, ArduPilot Mega and Arduino (ArduCopter) boards, and much more. I’m pretty happy about how it came out. Let me know what you think in the comments! Update: This frame was not able to fly. Turns out the motor…
Five Hour Plane
I few months ago I got the tiny Turnigy Slowflier from HobbyKing. The plane is fun to fly in confined spaces, but is pretty fragile. Well, if finally fell apart today and I decided to make a new plane with the electronics. It’s a pretty basic design as you can see from the pictures. The build took only about five hours and I have named it ‘The Mini Dude.’ The…
